I cannot count the number of people who have called, emailed, or caught me out prospecting and have asked what I thought of the Minelab GPX 6000. My answer had always been that I haven't had real time on the detector.
After the launch, there was a massive buy on the GPX 6000, with dealers running out of stock as quickly as the machines came in. Of course, there were mixed remarks about the GPX 6000 almost instantly and covered everything from "nope" to "the greatest detector ever built." After a few months on the market, I felt the time was right and I reached out to Minelab and asked if they would send a unit to me for testing.
I am admittedly late to the game on this review, and I know that there are a lot of blogs, videos, and articles on the GPX 6000, all of which I have not read or watched in their entirety. I decided to go into testing the GPX 6000 as a prospective owner wanting to make a very informed decision of value vs. cost instead of as a 50-year detectorist offering you the facts and tacks of the GPX 6000.
Why this approach? Easy — I am not an owner of a GPX 6000 sharing with you my experience on my new detector. I wanted to know firsthand if this detector fits my needs and wants, and if the GPX 6000 has a place in my toolbox.
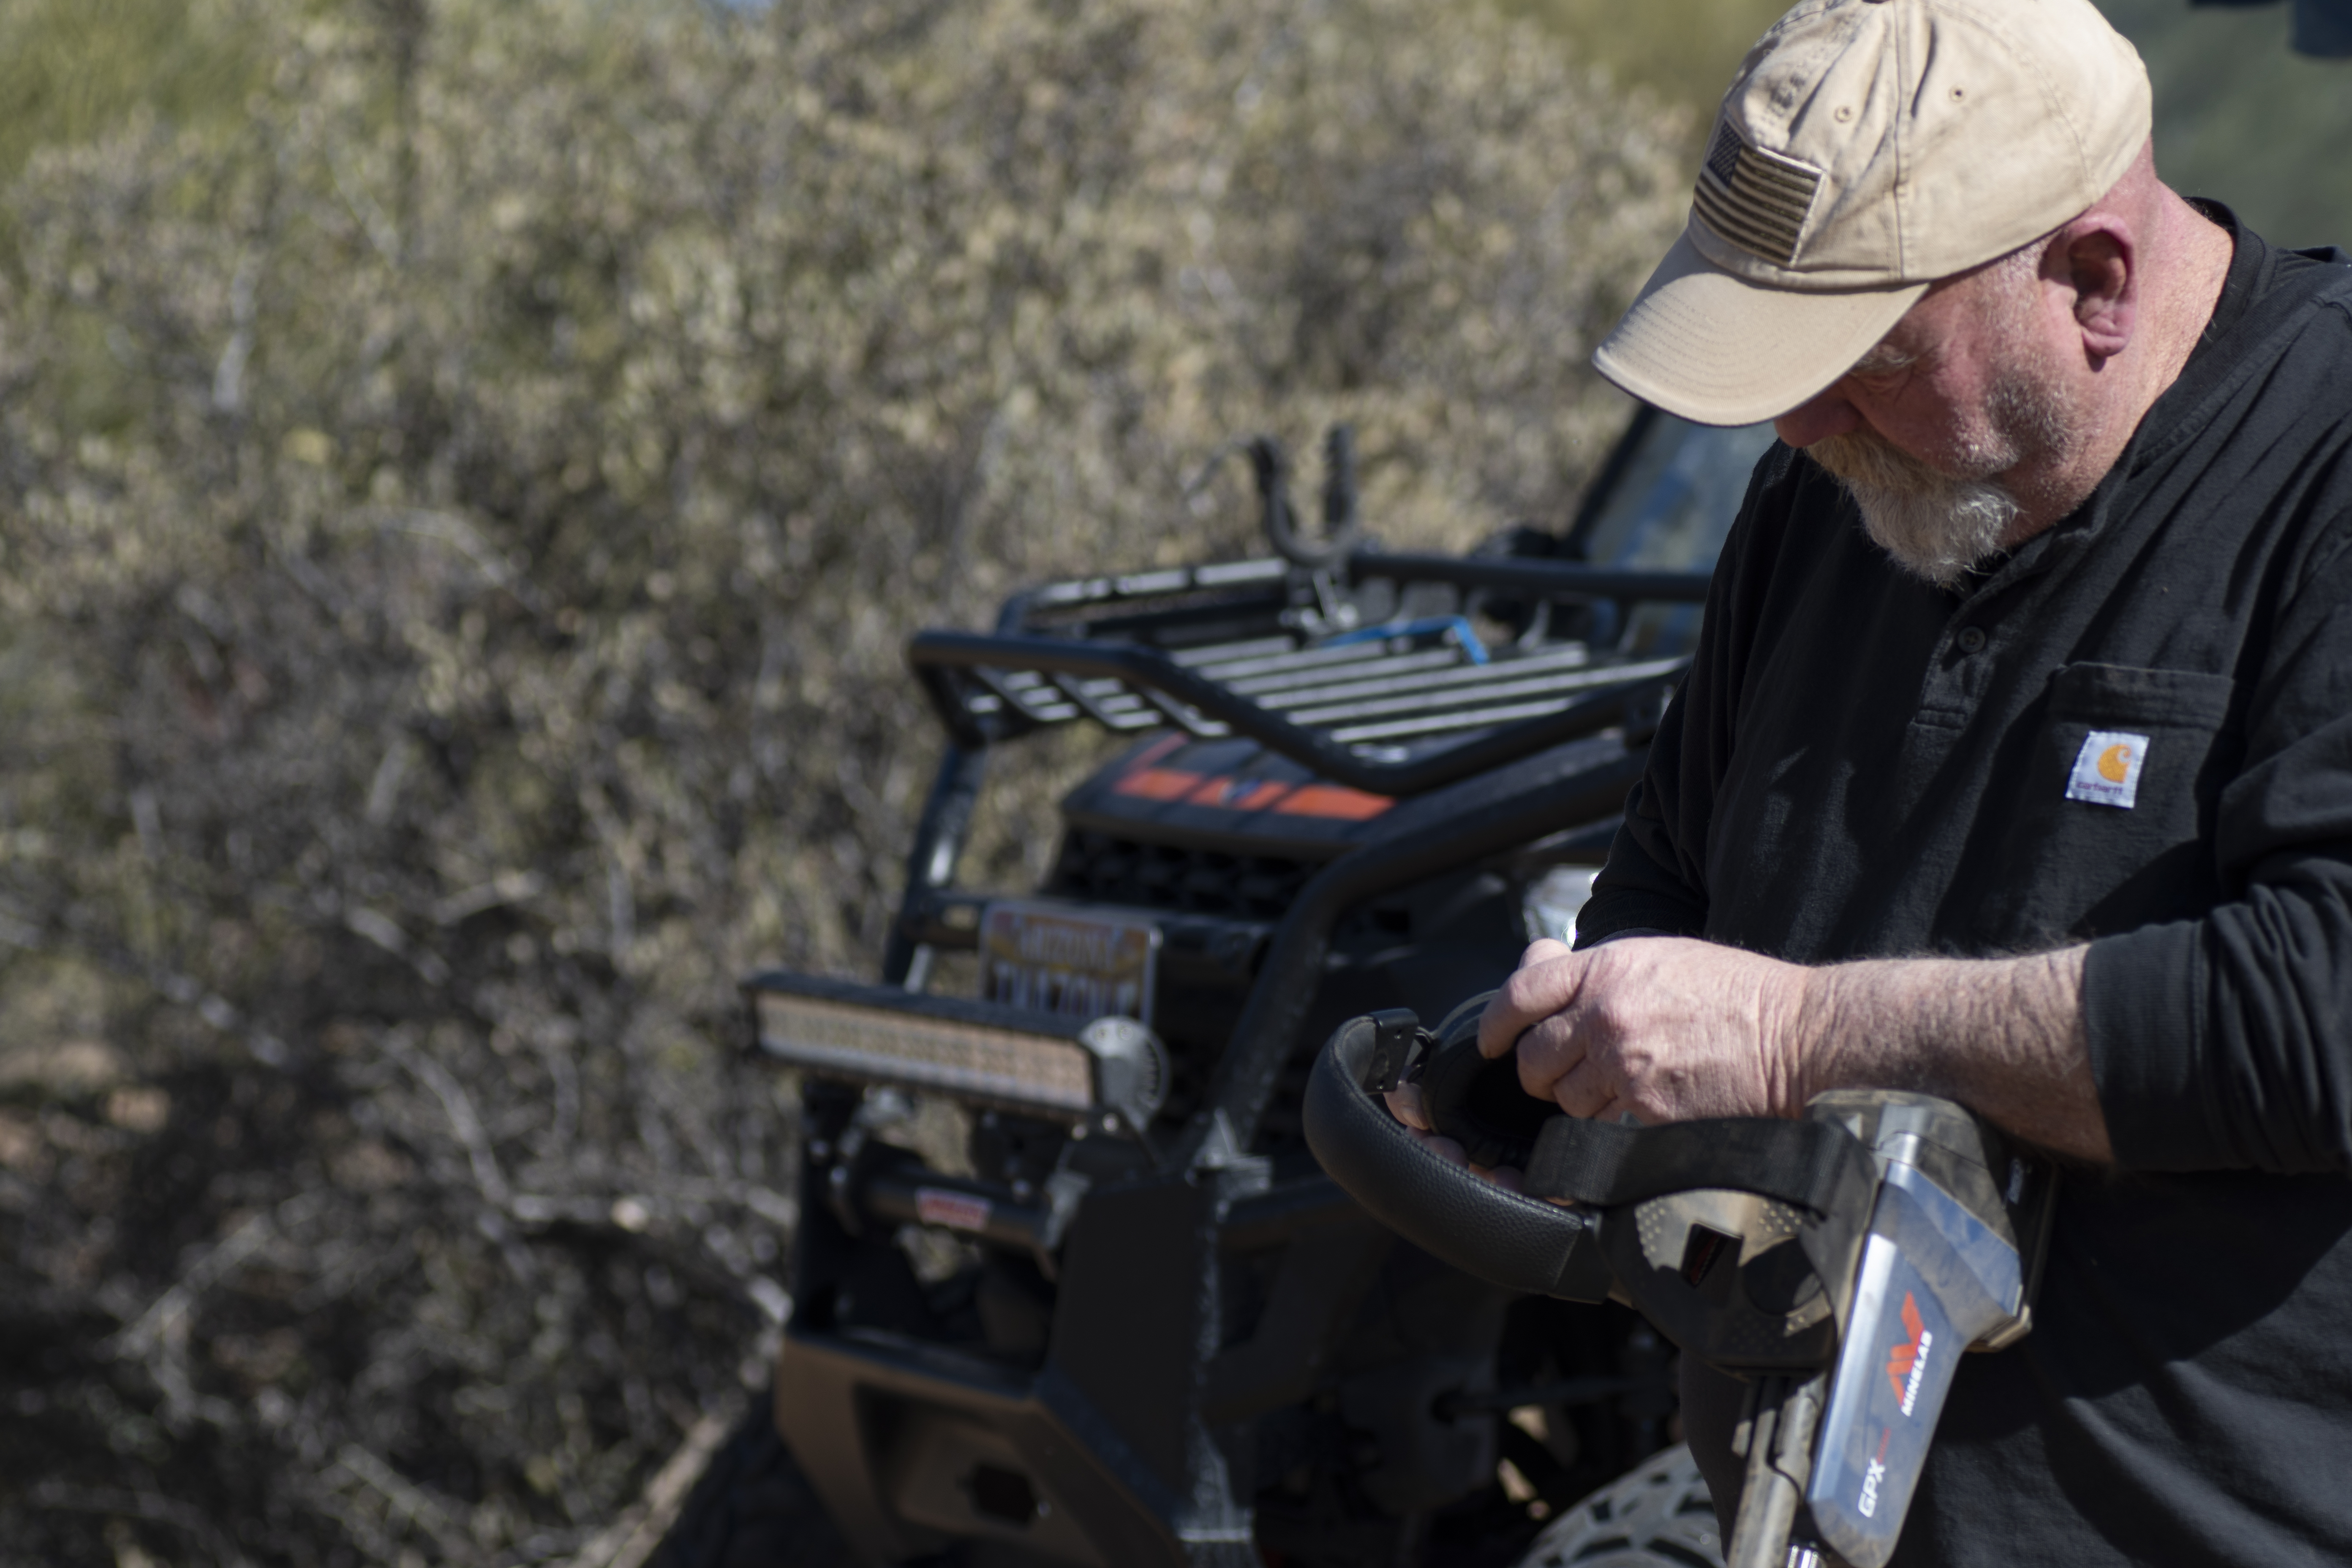
I am not going to go through every nut and bolt of unboxing the unit. Minelab does an excellent job at packaging their detectors and making assembly very easy and straightforward. In the case of the GPX 6000, the unit comes virtually assembled. Slip on the arm cuff, pick either the 11" mono or 14" DD, and install using the washers and bolt. I chose the 11" mono because mono coils are always my first choice; I never go to a DD until I cannot operate my detector with a mono coil because of mineralization or electromagnetic interference (EMI).
I charged the lithium-ion battery, which is a slip-in style battery that is also the bottom back section of the detector with a rubberized base — a sensible way to go. The battery is the ground plate for the detector for stability. Minelab neatly tucked away the charging port and the LED status lights onto the battery body and they are all well-protected. When the battery is connected to the unit, it is a positive clip into the back of the detector's body with a tight fit and no movement. I gave some thought to the GPX 6000 control pod not being waterproof and found I didn't care one way or the other. Water-resistant is more than good enough.
The wireless headphones use a USB-C for charging, and the power, volume, on, off, pairing lights and 3.5mm input are all in one spot, which means I am not looking all over the headphones to see the status. Looking through the rest of the goods in the box I found the headphone cable, car charger, and the getting started guide.
With everything charged and the quick start thoroughly gone through a few times, I did what I always do: tossed the quick start to the side, went outside, and cranked up a brand new shiny GPX 6000 for the first time knowing that very soon it would never look the same again.
The first step, pair the headphone. Detector on, headphone off is the key. Somehow, I missed that in the pocket guide I read. The ML100 headphones are good and the perfect match for the GPX 6000. Since the GPX 6000 is Bluetooth, I decided to try a few other favorite pairs of wireless headphones and after a few tests went back to the ML100 for their clarity.
At this point, I think it would be better to go back a bit and share the settings, what they do and a walk around the GPX 6000, along with some thoughts before getting into the field.
Control pod and display:
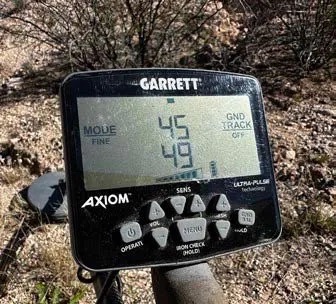
The control pod on the GPX 6000 is the handgrip as well and the display area is a small 3.5 inches tall, 3 inches wide and 1 inch deep and it does not need to be any bigger than that. The control panel screen is easy to see with or without the backlight at just about any angle of swing, and everything I needed to know about the status is right there. The GPX 6000 has a very straightforward control panel. Minimal choices are just enough to instill confidence in a new detectorist and enough to make an old dog detectorist skeptical as to if there is enough functionality.
The left side of the pod has the Bluetooth on-off pairing, and it's a single push button with the status showing on the screen. Below the Bluetooth button is the backlight button, with on, high, low, active and off settings. On the right side of the pod are the volume high and low buttons. I really like that the up and down volume press switches are separate. It may not seem to be a big deal, that is until you have gloves on and are trying to manipulate a single bar switch.
Display screen and control pad:
The control pad and screen are exactly what I mean about instilling confidence for new users and skepticism in seasoned detectorists. The on-off is to the left, - and + in the center for sensitivity control, noise cancel to the right, and the ground type below the noise cancel. That's it, five pushbuttons and a few additional functions within, like the ground type button, which with a long push turns on and off the threshold. On the back of the control pod is a push button that is the ground track switch, which quickly rebalances the detector.
Everything you need to know is on the display screen. Battery life in the upper left corner, Bluetooth status below that, and if the backlight is active it shows in the lower left of the screen. On the right-hand side upper corner, you have your audio volume, in the center is the icon for headphone wired or Bluetooth status. In the lower-left is the noise cancel icon, which is only active when the noise cancel is being used.
This is the basic layout of the startup screen. Several other icons will display on the screen, such as Low Latency Bluetooth, which adds a + in front of the standard Bluetooth icon, and when using the DD coil, EMI cancel icon and conductive ground cancel icon.
The center of the display is the sensitive horseshoe and the ground-type icons. Factory preset for the GPX 6000 is Auto and difficult ground. I'll get into this later.
This may not seem like a lot of control functionality, yet Minelab claims that when coupled with its new Geo Sense technology, it is more than enough to give you everything needed to find gold.
Among other features of the GPX 6000 first is its weight: 4.6lbs with the 11" mono coil. The ergonomics are the best I have used to date in a PI detector.
The shafts are carbon fiber to further reduce weight and add strength. I thought I would have an issue with the shafts not having locking points and if the locking rings started to loosen, my coils would be quick to turn sideways. It has not been an issue on any of my detecting unless I didn't tighten the locks enough before putting the coil to the ground. I also like that I can adjust the shaft length to an exact fit instead of having to settle for a pin fit. Again, this rates up there with the volume control's two separate buttons. It may not seem like a big deal to be able to set the length to fit until you have a lot of hours in the field.
The coils are waterproof with a complete design change that lowered the weight of the coils, which anyone who has waterproof coils knows is generally the opposite. Waterproof equals added weight. Minelab did supply me with the 17" mono that I knew would be lighter based on the new design; I just did not expect it to be as light as it is. In open areas I would swap to the 17" and at the end of the day, I never felt I had been swinging a brick on a stick.
For those times that I do not want to use headphones — oh wait, that would be never — the external speaker is loud and placed directly on the back of the detector. The wired headphone jack is a screw-in 3.5mm connection just below the speaker and on the left side. The Minelab cable is a screw-in, plus you can use any 3.5mm headphone cable plugged into the unit.
Quick start:
In quick start, the factory default is Auto, difficult soil with the threshold off. I'll get to the threshold a little later. Quick start is simple: Hold the coil 4 inches off the ground and parallel, turn on the 6000, let it noise cancel, ground balance by raising and lowering the coil for 10 seconds, and go detect.
I'll break this down some more. Auto sensitivity will be where the detector starts. There are two Auto settings and 10 manual sensitivity settings. The default Auto setting worked in all the ground that I detected on the first trip out. The ground in this spot has a great deal of mineralization that changes quickly. No matter where I am, it is hot ground that goes from moderately mineralized to highly mineralized then back to moderate. The GPX 6000 performed excellently in this ground in the factory presets of Auto, difficult ground, threshold off. In fact, it was too quiet for my liking. I switched the ground to normal. I believe that Minelab has understandably understated the normal soil settings on the GPX 6000.
When I switched to normal soil, the detector performed flawlessly in the moderately high mineralization in Auto. That told me all I needed to know about Auto. Turn the detector on, let it do its start-up process, ground balance, then switch from difficult soil to normal, rebalance, and go detect. The GPX 6000 will tell me when it is time to make a change.
For a new detectorist, this is a major point I want to make. Do not take that the factory preset is the end-all setting when you first start out. After you have gotten used to the GPX 6000 and are comfortable enough to explore the detector further, I would recommend starting in normal. If it won't work, believe me, you will know in a few seconds of swinging the coil. One push of a button back to difficult soil and a quick ground balance will get you back on the ground using Geo Sense to its fullest.
I wanted to try Auto+ in this area as well. Auto+ was designed for areas of low EMI and consistent lower ground mineralization and ground noise and offers a bit of a boost to the sensitivity. In this area, and because the mineralization changed rapidly, Auto+ was out of the question. The detector would not stabilize enough to where I felt like I was detecting as opposed taking the coil out for a walk.
However, in another mineralized area that is hot ground and very consistent, Auto+ worked better than I expected. I have had results that say that the ground can be more mineralized than what Minelab may have set as their baseline in describing what is hot ground. I absolutely understand this as well. Minelab has, in my opinion, under-promised and over-delivered. Just as long as the ground is consistent, Auto+ performed up to the point that it didn't.
By default, the threshold of the GPX 6000 is off in Auto. I get it, it's kinda noisy, and as Minelab says it may be a bit fatiguing to some users. On the positive side, in one of the Minelab training shorts, they clearly say that using the threshold can pick out very slight signals by the variation of the threshold over a more subtly weak target response. I'm used to the rhythmic sounds of a threshold. In fact, for me, it is very comforting. I really do not hear noise, I hear a rhythm and if it changes at all, I have a target to dig.
Don't jump into the deep end and start out using the threshold if you have never used a threshold before. Ease into it, hunt in Auto without the threshold. When you hit a target, swap over and listen to the brightness of the signal. It will not take you long until you do not hear noise, you hear the rhythm, and any fluctuation is a signal. I will assure you the threshold will help you find gold.
Switching the threshold on for the first time in Auto, it took a few seconds for it to tune itself in. I did a noise cancel and ground balanced to the detector and began swinging the coil. At first, I was hearing noise, then the rhythm — I was home. I immediately went to a spot where I knew there was a fast change in the severity of the ground mineralization and swung the coil between the two soils. I began swinging the coil slowly, then increasing the coil speed until the threshold began becoming erratic. The moment I slowed down, everything stabilized. As I said earlier, the threshold is the voice of the detector, the threshold was simply telling me to slow down. I am glad that I listened; about 10 minutes in, first GPX 6000 gold, 2.5 grains not grams, grains, a couple of inches deep and right on the contact line of the two soil types. It was time to go home, collect my notes, and start getting everything onto electronic paper.
Manual sensitivity:
When I decided it was time to move to manual sensitivity, I already had a feeling of what to expect.
I have trained a lot of detectorists over the years on setting up any detector to the ground being worked and not a number or scale. These do not matter and for new detectorists, a number or scale can really mess with their mind.
Manual sensitivity is a multi-step process that had me listening for EMI and ground mineralization conductivity. Going by the book, I did a noise cancel and ground balance then lowered the sensitivity to one, held the coil off the ground, and parallel listened for EMI noise. If there was EMI, I kept the coil off the ground and adjusted the sensitivity until it would go away. This only happened once in the areas that I was testing in, and I was able to eliminate the EMI in seconds.
Ground mineralization conductivity, with the sensitivity set to one, I started swinging the coil across the ground and slowly raising the sensitivity until the detector started to false signal, then I backed off one push of the control pad, followed by a short swing in a clean area to make any final adjustments. When the GPX 6000 was set to the ground and was using every bit of its capabilities, it was like swinging a completely different detector. Everything from the threshold to target signals took on a different life. This is the place I want to be.
I got down to some serious detecting. What I learned from the GPX 6000 was to get out of its way and only make changes when it told me to. With the GPX 6000, Geo Sense is by far the epitome of getting out of the way. Let it tell you when it needs your help. Going into detecting an area with this mindset and not overthinking and over-tweaking the detector, one of the benefits is that when it tells you to dig, you dig. I dug a lot. I dug trash, a few hot rocks, and some very nice gold nuggets. What I didn't do was chase ground noises and I was not constantly making changes to the detector to keep it tuned to the ground.
Yes, I am going to overemphasize this: Over the last few decades, I've talked about the trifecta or triad of successful detecting — ground balance, threshold, and sensitivity — and matching them to the ground you are working in. The GPX 6000 covers them all and what I had to get used to is that the detector hits all three with very little need for me other than to push a button here and there to get it into the right room and then let it go to work. Of course, I still have to swing the coil and dig the targets. I'll call that a fair trade for everything it does for me.
Bits and Pieces:
Coils
Most of the time I detected with the 11" mono coil and occasionally the 17" mono. Both are truly impressive for several reasons, mainly their lightweight build and sensitivity to all range of targets within their purview. Meaning I have no expectation that the 11" coil will find a nugget 16+ inches or the 17" to find a nugget well below a sub gramer.
I did not use the 14" DD coil for anything other than to see how to use the DD features. This is why I am not going into detail. I just did not get into a place where I needed to move from mono to the DD coils. I guess I could have headed out to the powerlines and force-set the coil, but I didn't, and unless I have a patch under a line or I've got insane amounts of EMI around me, I feel that I already know the answers.
Headphones
Hands down the ML100 for wireless. I tried several different wireless headphones and, with the exception of an extremely low latency wireless earbud system, nothing else came close for me.
Wired headphones, on the other hand, if you have a favorite set, run them. I used six different headphones from several manufacturers, all of which were perfect. I did have to use my 90° ¼" in F to 3.5mm M out adapter on a couple of sets with no issues.
Final thoughts:
With the GPX 6000 packed into its shipping box ready to head back to Minelab, I wish that I could share all the hidden things about the GPX 6000 that I found out when using the detector. Those hidden gems that allowed me to super tune the detector to do amazing things with it by tweaking this or that. I can't because there are no Easter eggs to find. The GPX 6000 is an in-my-face detector that only wants me to pick a mode and give it some information; it takes over from there. And does it better than I ever expected.
When I first started this personal testing to see where the GPX 6000 would fit in my kit or toolbox, I had every expectation of possibly selling or trading one or two of my other Minelab detectors. Now that I am done, I know that this has to be an addition and not a replacement for any of my other detectors. I know there have been hundreds of comparisons done between everything from the Gold Monster 1000 to the GPZ-7000 and I understand that. But for me, each of these are different tools in the toolbox. I have no expectations of the GPX 6000 being able to consistently find some of the tiny nuggets I routinely find with my Gold Monster 1000 or have the depth of the GPZ-7000. Even my SDC-2300 is safe because of its compact size and fully waterproof design.
I had reached out to a lead from Minelab asking for a simple explanation of Geo Sense technology. I hadn't received a reply at the time of writing this field test, so here I go with my interpretation of Geo Sense. In the past, detectors have been able to autotune to the ground with respect to ground balancing and to some degree sensitivity. Then there are other processes, like noise-canceling of EMI. Each of these processes was separated, and although they worked together, they were still separate parts of a whole with some processes not seeing what other processes were seeing. In other words, lots of processes but not one big picture.
Geo Sense technology takes everything that is a benefit and a hindrance to detecting and combines all the information into one focused system running hundreds, if not thousands, of processes per second and allows all processes to see the whole, good and bad. All the while simultaneously adjusting every aspect of the detector based upon huge amounts of collected data.
For me, this all comes together in thinking about and using the threshold. I have no control over the threshold as I have always had in the past, yet the GPX 6000 takes all of the information that is coming in, which results in a stable, extremely non-user-adjustable advanced tool to pick out even the slightest difference between ground and a target. I'm impressed, to say the least.
I think that if it wasn't for the fact that the GPX 6000 must occasionally tap me on the shoulder and ask me to do something to allow it to gather more information for Geo Sense to process and then swing the coil, it would be autonomous.
Footnote:
Reading back through every word of this, I realized something that I hope is not going to make anyone think that Pulse Induction detecting with the GPX 6000 is all butterflies and unicorns playing in a field of gold. It is not.
PI detecting is hard, you will dig targets deeper than you may have ever dug and not all of them will be gold nuggets. I love digging a lead bullet at crazy depths. It tells me that if that had been a nugget, it would be in the poke. It is one of the things that keeps me going as a detectorist — there is always the next target.
There is no discrimination in PI detecting and every target must be dug. If I wasn't willing and excited to dig every target, then PI detecting would not be for me. If I ever tried to ear discriminate, I know that I will leave gold in the ground. It is that simple. I am going to dig trash and I will find gold.
Then there is the mental fatigue of detecting. Always working the detector to keep it in perfect sync with the ground along with the chatter of false signals as the ground changes, these are all but eliminated with Geo Sense. I'll take sore muscles and screaming knees after digging targets over mental fatigue any day of the week. Mental fatigue is what causes a detectorist to not want to dig a target because they didn't like the sound or wrote it off to ground noise.
What the GPX 6000 brings to my table is that everything I have learned over the years of detecting combined with Geo Sense, and because of this technology the most important part of detecting, no matter what your experience level, is absolutely trusting the GPX 6000 to do its job, which I do. I have heard and dug targets in areas that were hidden in the past because of ground or EMI that I could not super tune out. Simply put, I cannot do what I now trust the 6000 and Geo Sense to do automatically for me.
GPX 6000 Tech Specs
Search Modes (Ground Types) Difficult (default) | Normal
Double-D Modes EMI Cancel (default) | Conductive Ground Cancel
Ground Balance Auto | Manual (Quick-Trak)
Noise Cancel Automatic (on start-up) | Manual (as needed - 5s duration)
Sensitivity Manual (levels 1 — 10) | Auto (level 11) | Auto+ (Level 12)
Threshold Tone On, Off
Volume 5 Levels
Length Extended: 155 cm (61 in) | Collapsed: 67 cm (26.5 in)
Weight 2.1 kg (4.6 lb) (with 11" round Monoloop coil)
Display Monchrome LCD with backlight
Available coils GPX 11™ 11" round Monoloop | GPX 14™ 14" round Double-D | GPX 17™ 17"x13" elliptical Monoloop
Audio Output Built-in loudspeaker | Wired 3.5 mm (1/8" headphones) | Bluetooth wireless audio (aptX™ Low Latency)
Supplied Headphones ML 100 wireless headphones
Supplied Batteries Rechargeable Lithium-Ion battery 5833 mAh
Battery Runtime 8 hours (approximately)
Waterproof Coils: submersible to 1m (3.3 ft) | Detector: splash / rain proof
Operating Frequency 1.225 kHz
Operating Temperature Range -10°C to +50°C (+14°F to +122°F)
Storage Temperature Range -20°C to 70°C (-4°F to 158°F)
Key Technologies GeoSense-PI™ | Bluetooth | aptX™ Low Latency
For more information and U.S. dealers, visit ww.minelab.com/usa/where-to-buy

.png)